# Connect MetaMask to WhiteList Zone
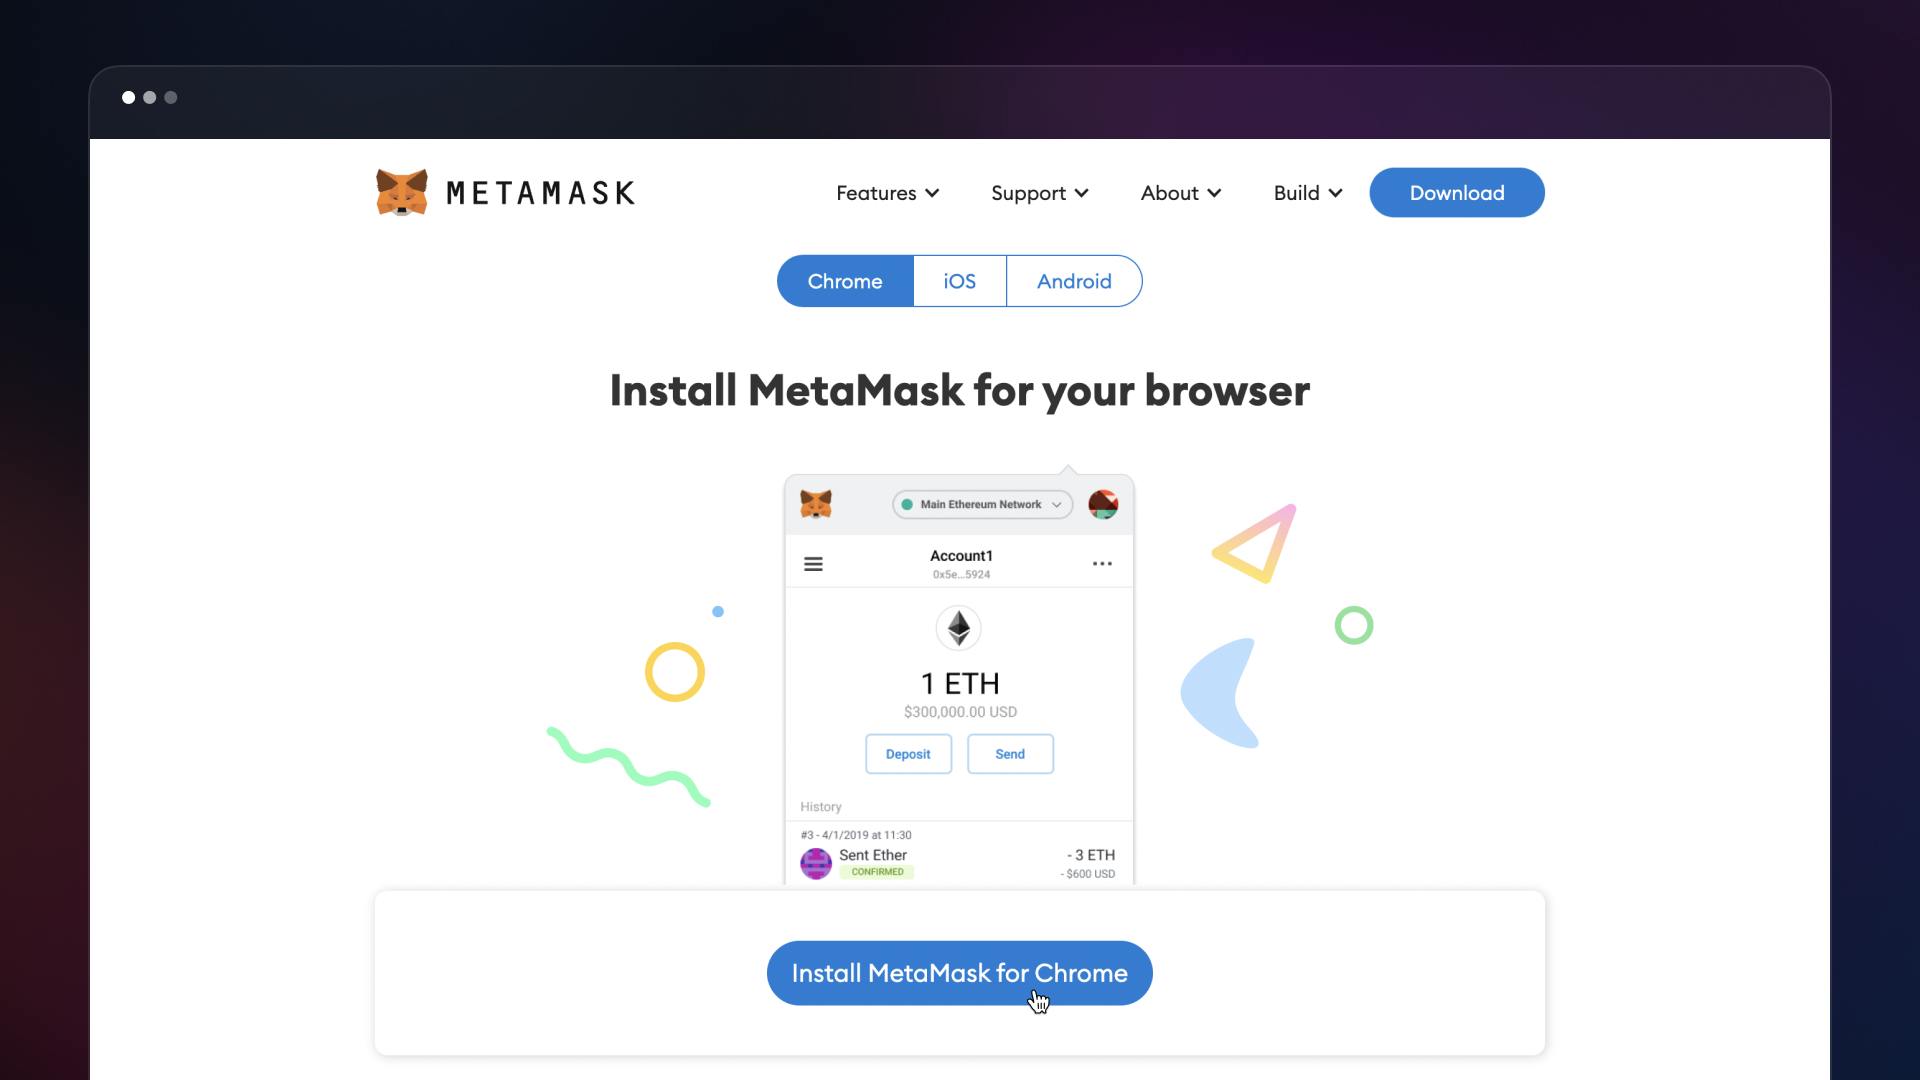
### **Step 1: Download MetaMask wallet**
Go to [Metamask website](https://metamask.io/) and click on “Download”. Choose your preferred browser or mobile application and install the MetaMask extension.
MetaMask supports iOS, Android native apps along with Chrome, Firefox, Brave and Edge browser extensions.
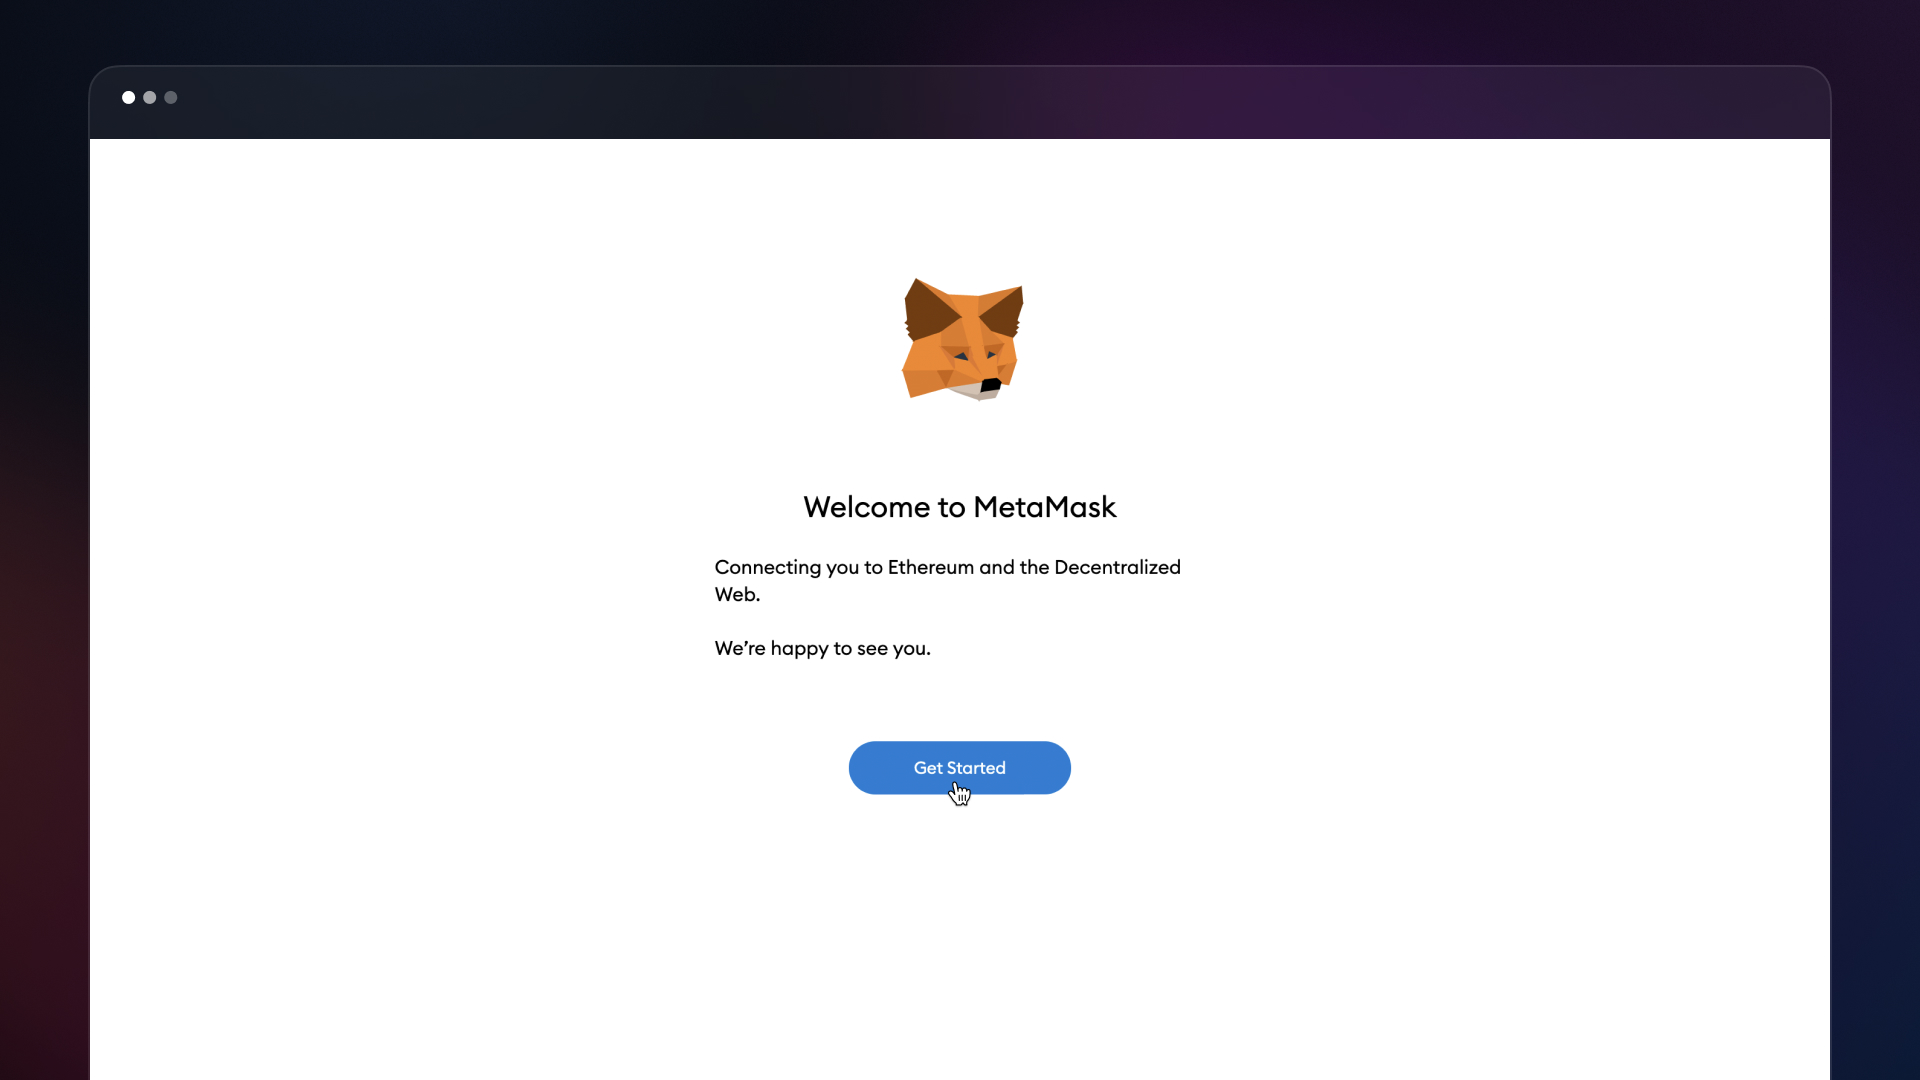
### **Step 2: MetaMask wallet installation**
Click on the MetaMask extension and click on “Get Started”.
### **Step 3: Click on “Create a wallet”**
On the next window click on “I agree” if you would like to help improve MetaMask or click on “No Thanks” to proceed.
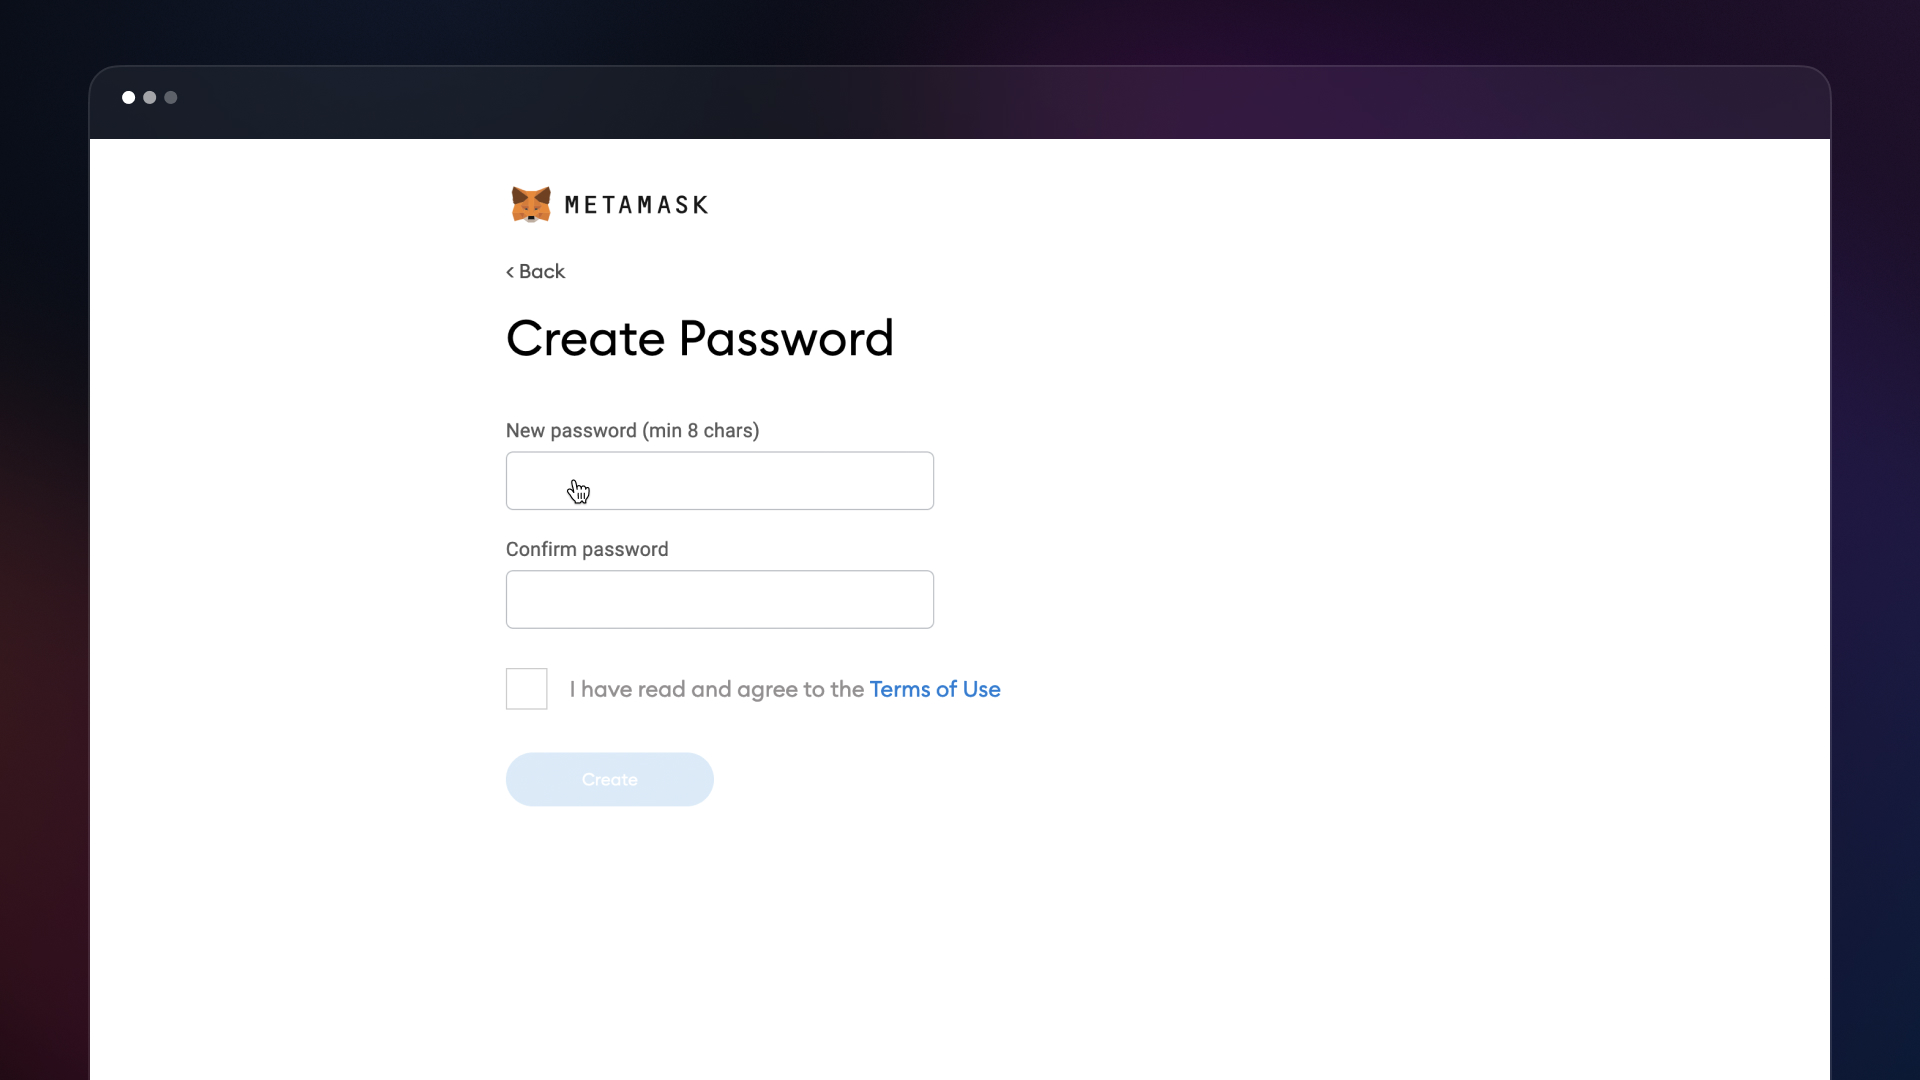
### **Step 4: Create a strong password for your wallet**
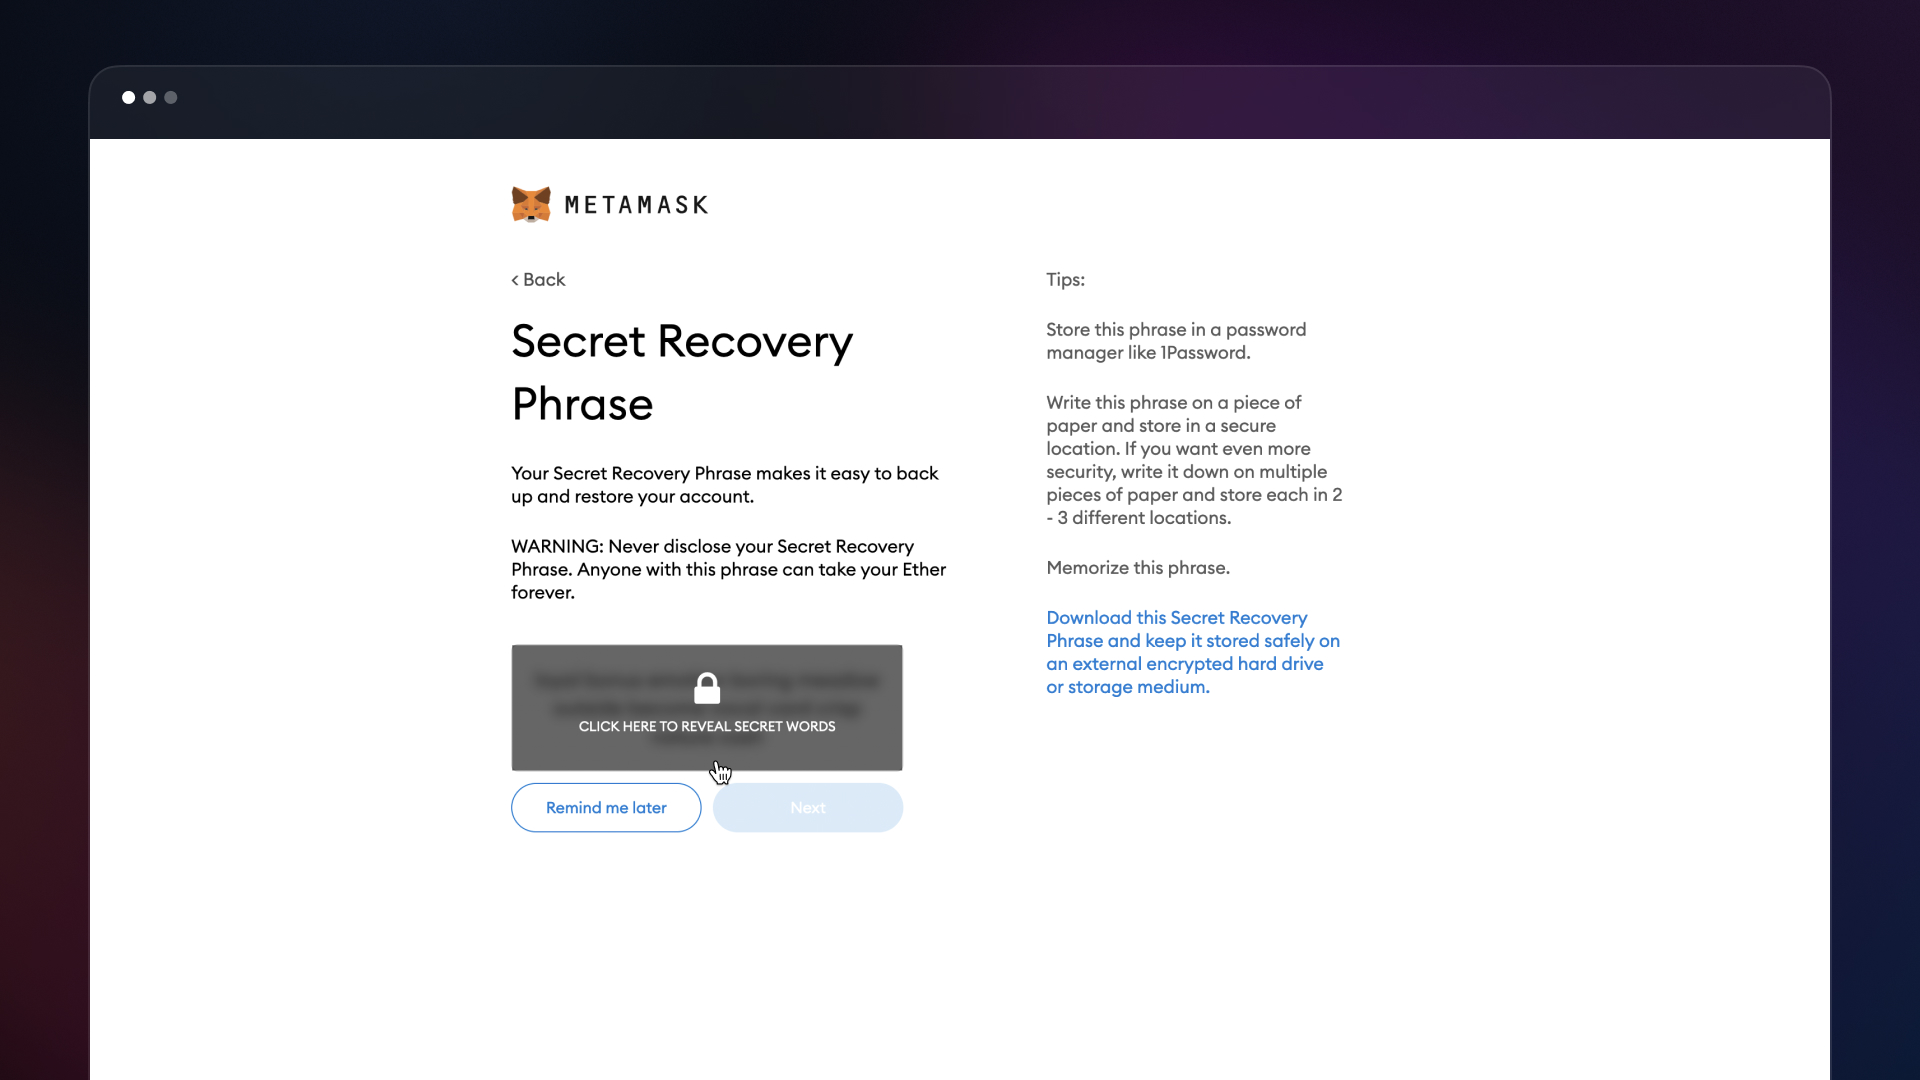
### **Step 5: Securely store the seed phrase for your wallet**
Click on “Click here to reveal secret words” to show the seed phrase.
MetaMask requires that you **store your seed phrase in a safe place.** It is the only way to recover your funds should your device crash or your browser reset. We recommend you write it down. The most common method is to write your 12-word phrase on a piece of paper and store it safely in a place where only you have access. Note: if you lose your seed phrase, MetaMask can’t help you recover your wallet and your funds will be lost forever.
**Never share your seed phrase or your private key to anyone or any site,** unless you want them to have full control over your funds.
After creating a new MetaMask account, you can follow the next step and connect BSC Network to your wallet. The easiest and fastest way is through the [**https://wzone.io/**](https://wzone.io/) In order to connect BSC Network to MetaMask Wallet automatically, go to the WhiteListZone website in Mainnet, press “Connect wallet” and then “Approve”.
If you successfully connected BSC network, then you can skip to Step 10
In case something goes wrong and you are not able to connect BSC Network automatically, you can do it manually by following the instructions:
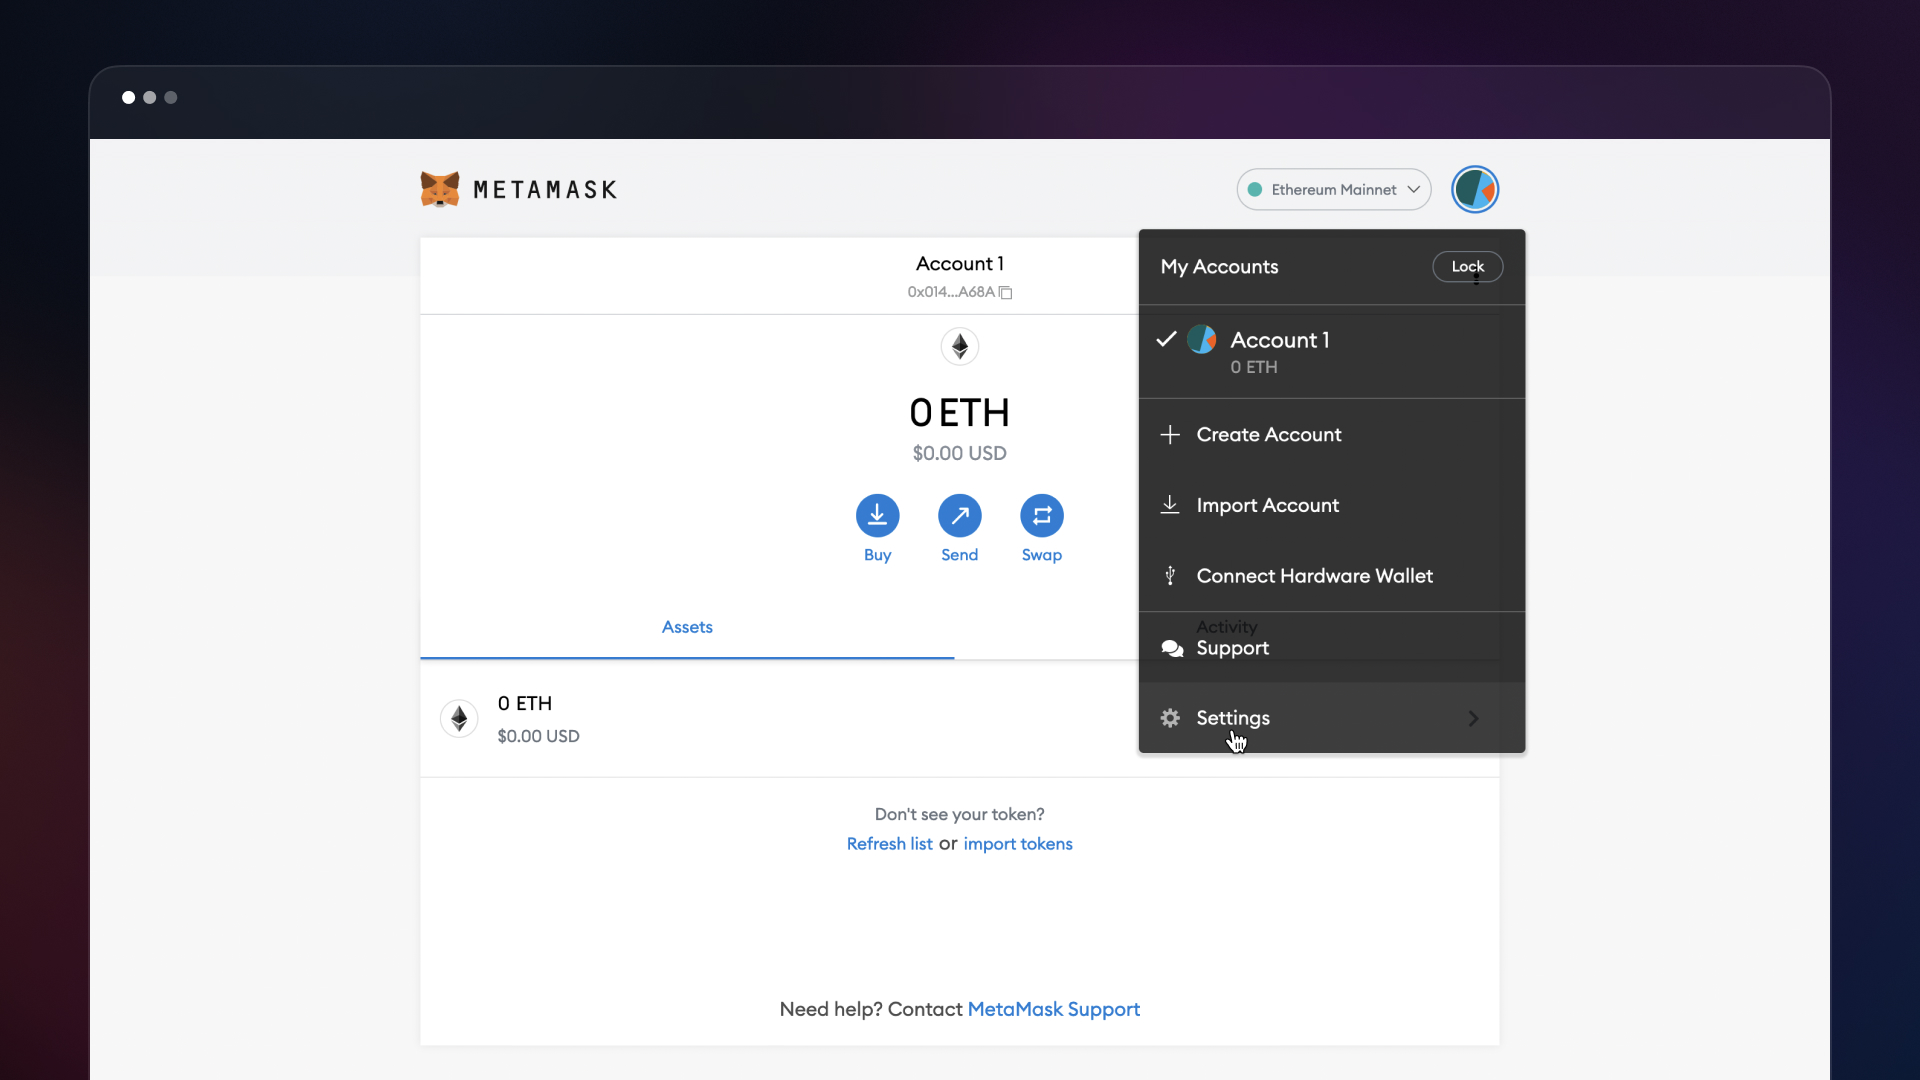
### **Step 6: Open the MetaMask and go settings**
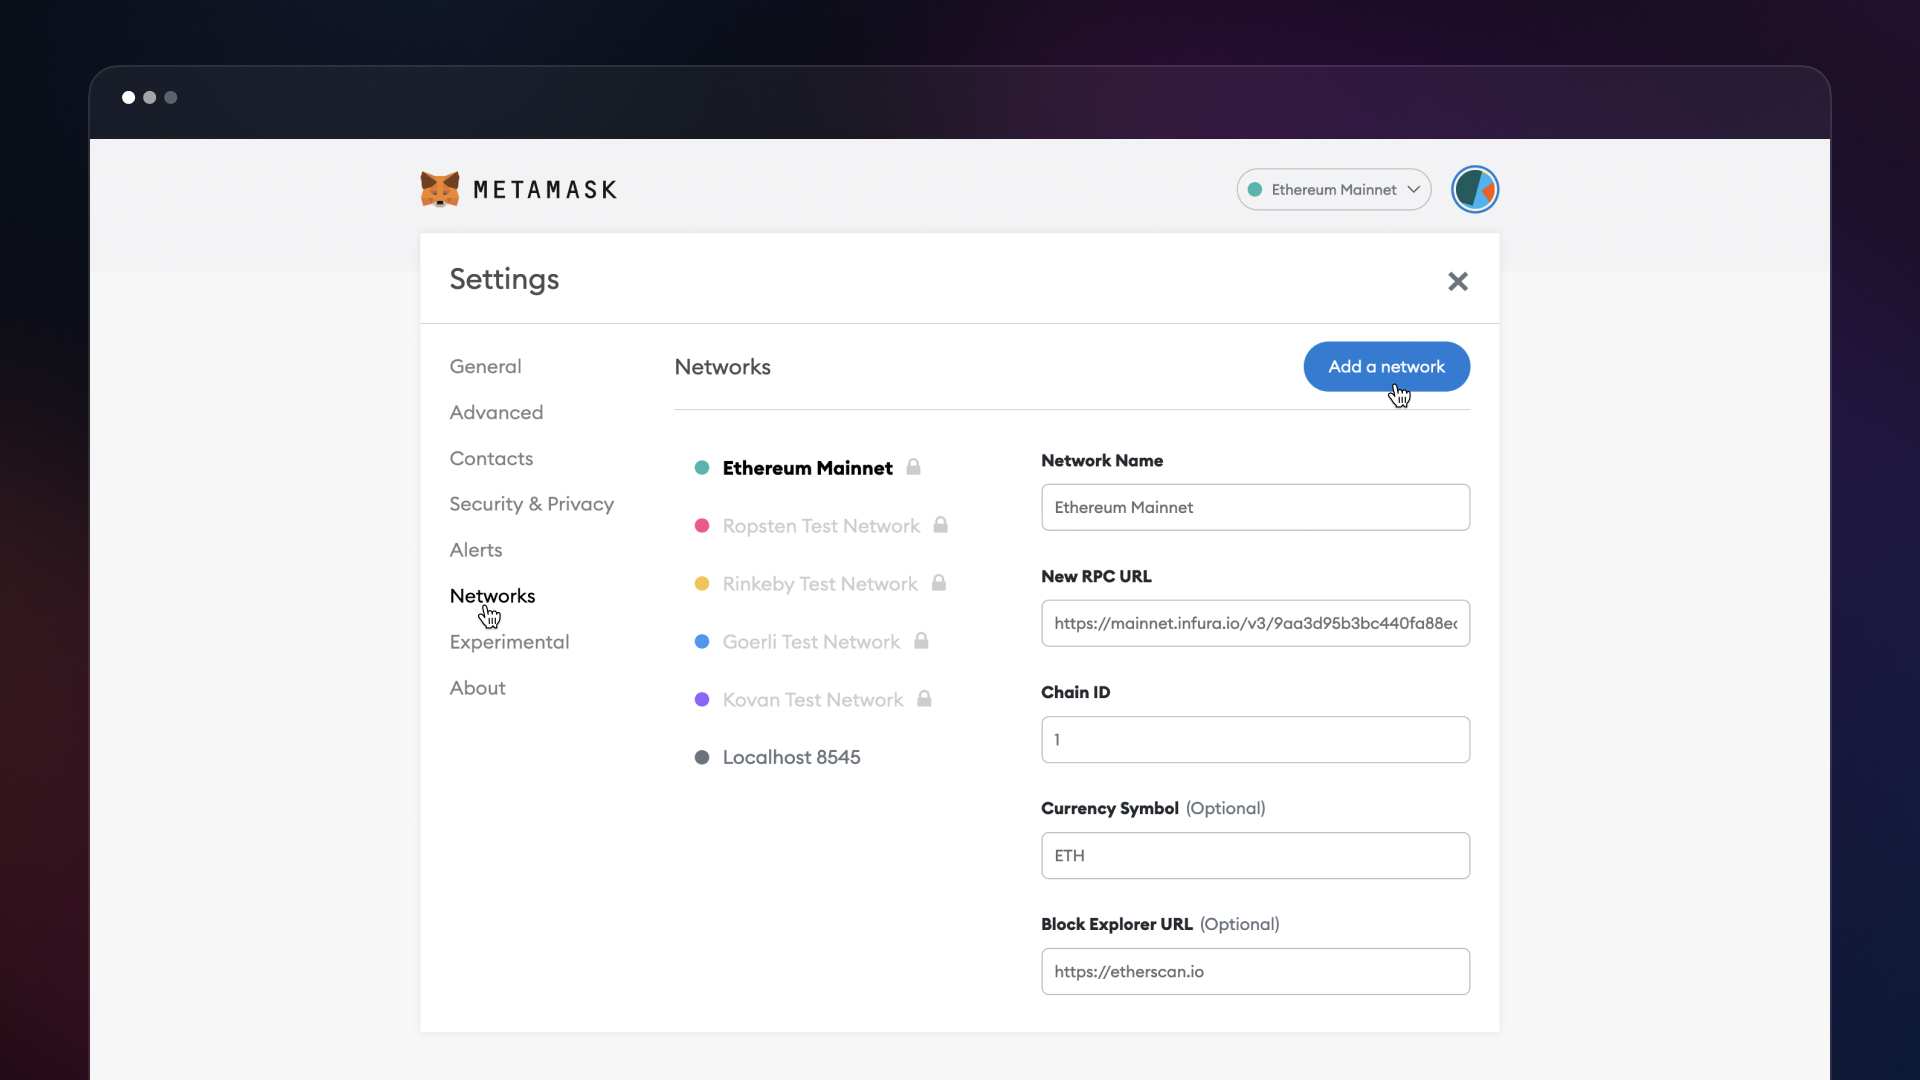
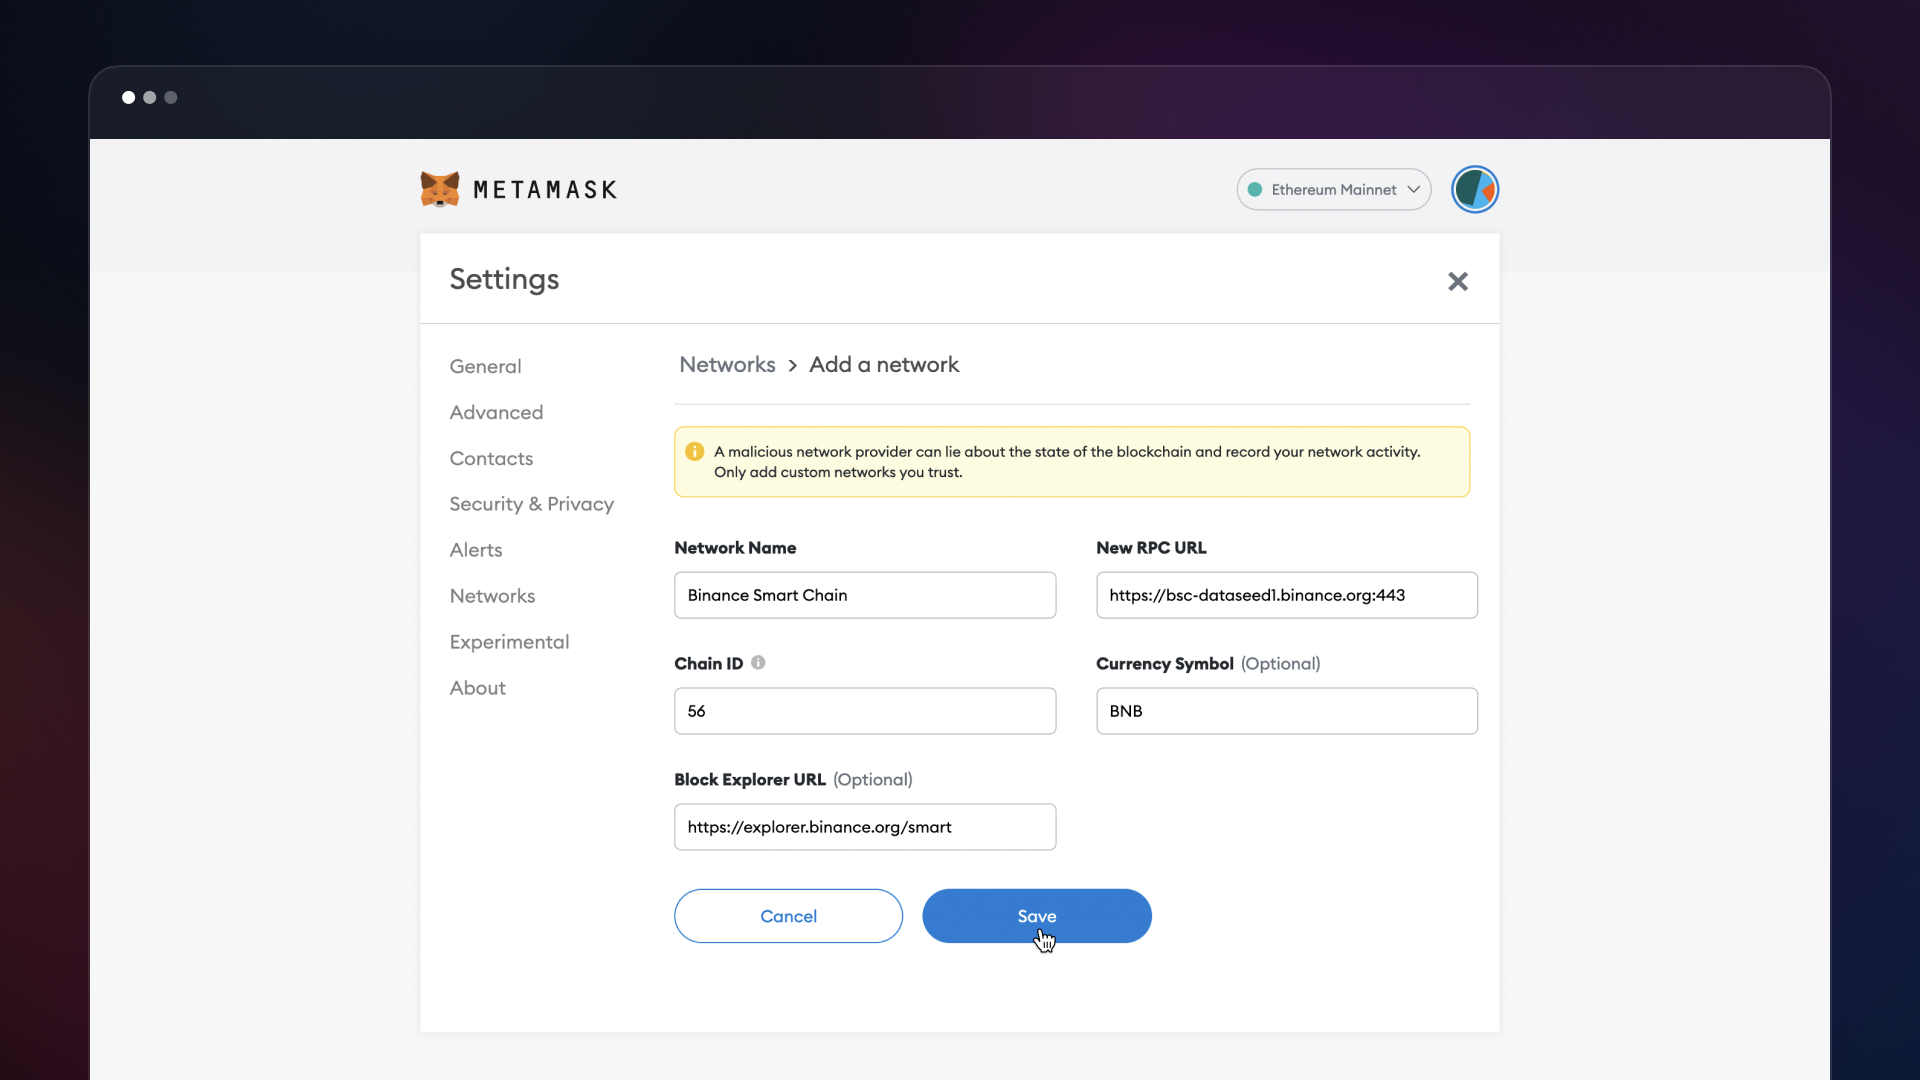
### **Step 7: In settings select "Networks" and select the add network button and input the following information:**
Network name: Binance Smart Chain
New RPC URL: [https://bsc-dataseed1.binance.org:443\ ](https://whitelist-zone.gitbook.io/whitelist-zone/instructions/https:/bsc-dataseed1.binance.org:443\ );
ChainID: 56
Symbol: BNB
Block Explorer:
**Network Name:** BSC Testnet
**New RPC URL:** [https://data-seed-prebsc-1-s1.binance.org:8545](https://data-seed-prebsc-1-s1.binance.org:8545/)
**ChainID:** 97
**Symbol:** BNB
**Block Explorer URL:**
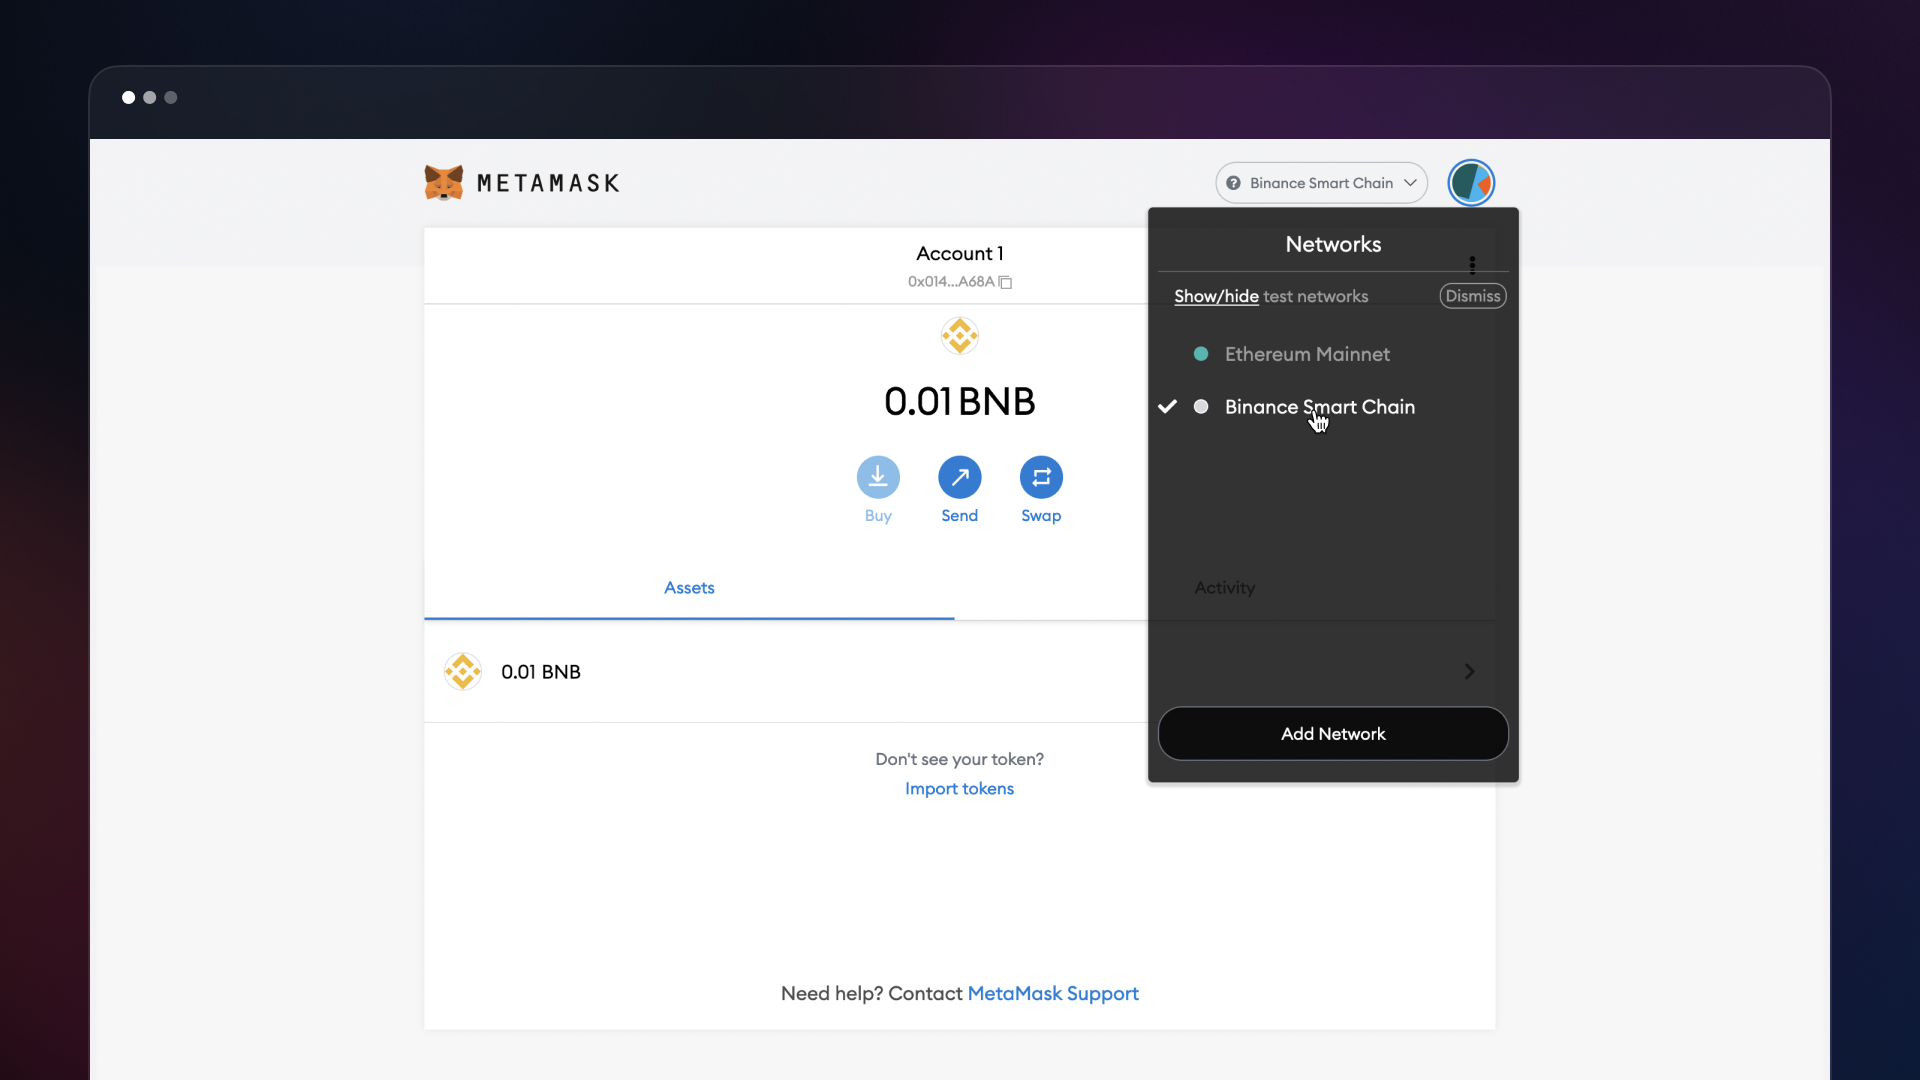
### **Step 8: Select the newly added BSC Mainnet and you’re now connected to the BSC network.**
### Step 9: Be sure to load your wallet with ample BNB (\~.01 minimum) to pay transaction fees.
You can easily buy BNB with a debit card or Apple Pay directly within MetaMask by clicking “Add funds”. You can request funds from a friend by sending them a payment request showing your QR code in person or by sharing your public address.
Connect and use your wallet to various Dapps on the BSC using the built-in Web3 integration.
And the last thing you need to do to interact with the platform is to add money to the WhiteList Zone platform
### Step 10: Go to the platform and connect your wallet (if you haven’t done it before)
**(screenshot TBD)**
### Step 11: Add BNBs
**(screenshot TBD)**
### Step 12: Approve the transaction on Metamask.
**(screenshot TBD)**